Before the District Attendance Report can be printed, a report instance must be generated from the calculated data for a specified apportionment period. This report instance is archived and later used when a printed report is needed for that apportionment period. The CA District Attendance Report Generation application is used to:
- Calculate line totals for the CA District Attendance CDE Form based on weekly summary data generated by the CA Attendance Summary Calculation process.
- Indicate when caps have been surpassed.
- Allow adjustments (editing) to calculated line totals.
- Archive line totals, caps, and adjustments.
- Printing the CA District Attendance Detail report.
CA District Attendance Report Generation is located under the Attendance menu in Q.
Prerequisites:
- The CA Attendance Summary Calculation must be run for the desired apportionment period. See CA Attendance Summary Calculation documentation for further details.
The Report Generation opening page displays: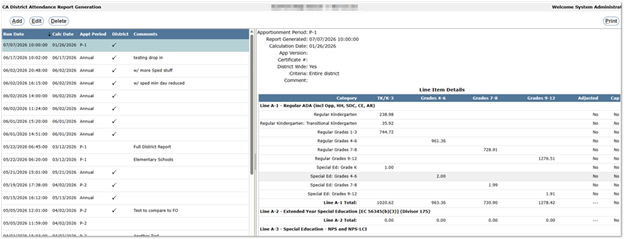
- A grid, on the left side, showing the history of generated report instances for specific Apportionment Periods.
- Detailed information, on the right side, for the selected report instance.
Users can sort the grid by clicking any column header. Clicking the same header again will toggle the order between ascending and descending.
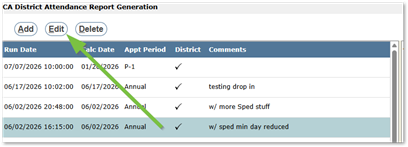
To add a Report Instance:
- Click Add.
- Complete the following fields:

- Apportionment Period– Select from available Apportionment periods.
- Periods appear only after Attendance Summary has been calculated.
- Calculation Date – Displays the most recent calculation date for the selected period.
- App Version – Enter the version of the state form the data is intended for.
- This will likely change yearly.
- Certificate # – Optional District tracking number.
- District Wide – Defaults to Yes. Unchecking reveals filters for School Type, School, and Track.
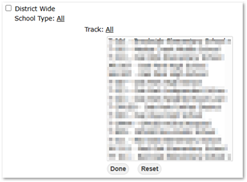
- Criteria – Automatically reflects the options chosen in the District Wide setting.
- Comment– A short description field.
- This appears alongside the Apportionment period and generation date when selecting instances for printing.
- Apportionment Period– Select from available Apportionment periods.
- Click Generate Report.
- Click Done when processing is complete.
After generation, reported values and totals for each line item are displayed.
- Edit General Data
- Users may edit general data at the top of the form. (App Version, Certificate #, Comments).

- See Add Report Instance for field descriptions
- Users may edit general data at the top of the form. (App Version, Certificate #, Comments).
- Edit Line Data
- Users may also adjust Line Item Details if manual corrections are needed. For example, attendance data that was not generated within the system. In addition, existing line item data may need to be edited or adjusted to ensure accuracy before printing the final District Attendance CDE Form Report. These updates are made by editing a generated report instance.
- Select the desired report instance from the grid.
- Click Edit.
- Choose the line item to update.

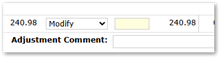
- Select an Adjustment Type:
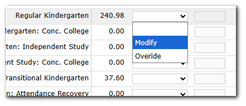
- Modify – Adds/subtracts the entered value from the existing total.
- Override – Replaces the existing value with the entered value.
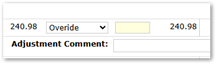
- Note: Adjustment Comments added will display in printed reports

- Modify – Adds/subtracts the entered value from the existing total.
- The line total recalculates automatically.
- Click Submit to save changes.
- Users may also adjust Line Item Details if manual corrections are needed. For example, attendance data that was not generated within the system. In addition, existing line item data may need to be edited or adjusted to ensure accuracy before printing the final District Attendance CDE Form Report. These updates are made by editing a generated report instance.
To delete a Report Instance:
- Select the instance to remove.
- Click Delete.
- Confirm with Ok, or Cancel to return without deleting.
To print a Report Instance, click the Printer icon in the upper-right corner.
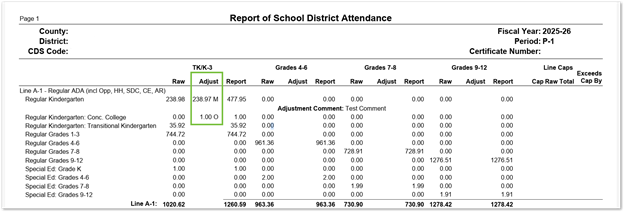
The printed detail report includes modifications, marked in the Adjustment column:
- M = Modification
- O = Override
