Sometimes your email needs an image, and you want it to fit just perfectly within your text. Here’s a trick to adjust the spacing around inserted images that you may not have noticed before!
Inserting an image into Message Editor will look something like this:
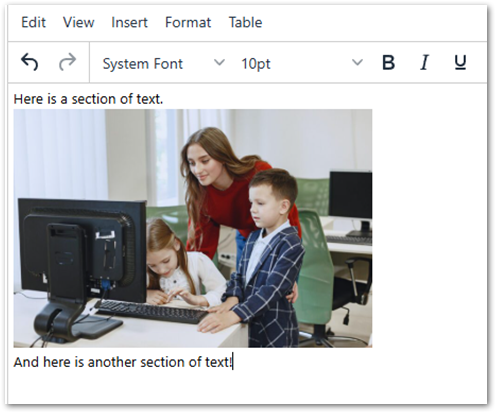
As you can see, we placed the image between two lines of text. To create spacing, many would do the following manual processes:
- Vertical Spacing: Click enter before and after to make a line break, and adjust the font size the increase or decrease the space
- Horizontal Spacing: Use spaces, tabs, and alignment options
However, there is another option users can utilize to get that perfect image placement.

- Click the image
- Click the Insert/Edit Image button.
- Click the Advanced Tab
- And then adjust Vertical and Horizontal Space.
- Users may input numbers which are associated with the number of pixels and then click Save
- Example of Vertical Space using 50 pixels


- Example of Horizontal Space using 50 Pixels


While you may need to adjust the number of pixels to meet your needs, you should find it provides a more exact way of achieving the look and feel of your document.
Note
This trick works great for HTML-based messaging, like emails. For printed documents, you will need to adjust the spacing manually.
Extra tip
You may have noticed that you can adjust image borders from the Advanced Tab as well!