Have you have ever felt intimidated by the Master Schedule Builder or just need a refresher of using the Builder? Check out the Builder Training Guide which provides step by step information on how to use the Builder. You can find it here.
Even if you don’t use the Builder to build the master schedule, did you know you can use it to look at the master schedule to check balance and conflicts? The master schedule can easily be import to the master schedule to use those tools.
If the builder has not been used there are a few setup items that will need to be completed before you can import the master schedule into the Builder.
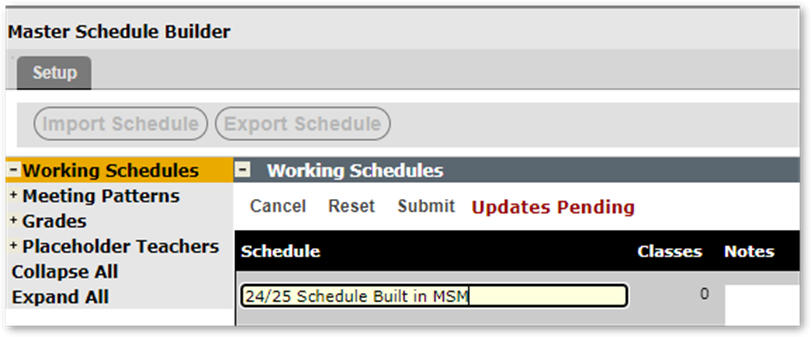
- Launch the Master Schedule Builder
- Create a working schedule by giving it a name
- Double check meeting patterns to make sure the periods have been defined
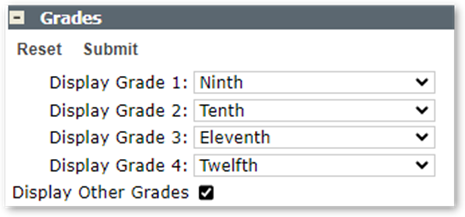
- Enter Grades at your school (these act as column headers in the Builder)
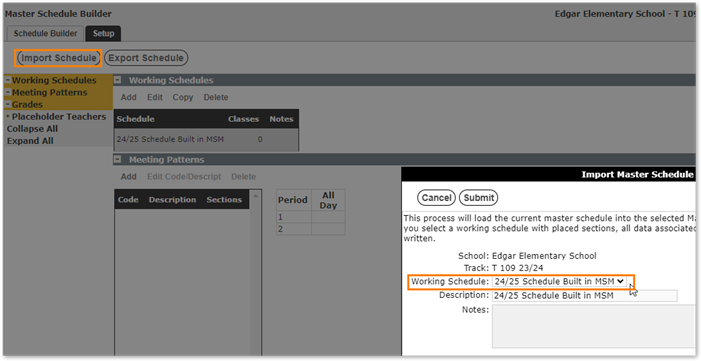
You’re now ready to import the master schedule
- Click the Import Button
- Select the working schedule name from the dropdown list
- Click Submit
- Click the Schedule Builder Tab
- Select your Working Schedule

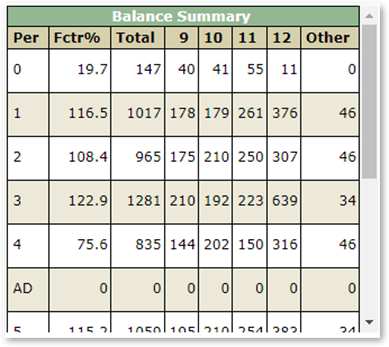
Look at the Balance Summary screen Fctr% column to see how evenly balanced the master schedule is. Ideally you want all periods to be close to the same number keeping in mind that the course selection in the course offerings can change the numbers displayed.