Verification enables districts to complete their federally required yearly Verification procedures. Separate Verification for Cause is also supported.
Verification is located under the Food Service menu in Q.
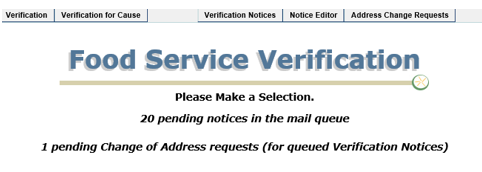
When Q Verification is launched status messages alert the user of any pending notices in the mail queue and change of address requests as these are usually timely items.
The fiscal year for Food Services begins on July 1 and the Verification application uses the actual date (not the system date) to determine the school year. When the Verification button is clicked on or after July 1, the user will be asked whether they want to initialize the new year.


Once Verification has been initialized for the new year, the School Year will show in the upper right corner of the screen. Prior year data and reports will no longer be available in the Verification Application.

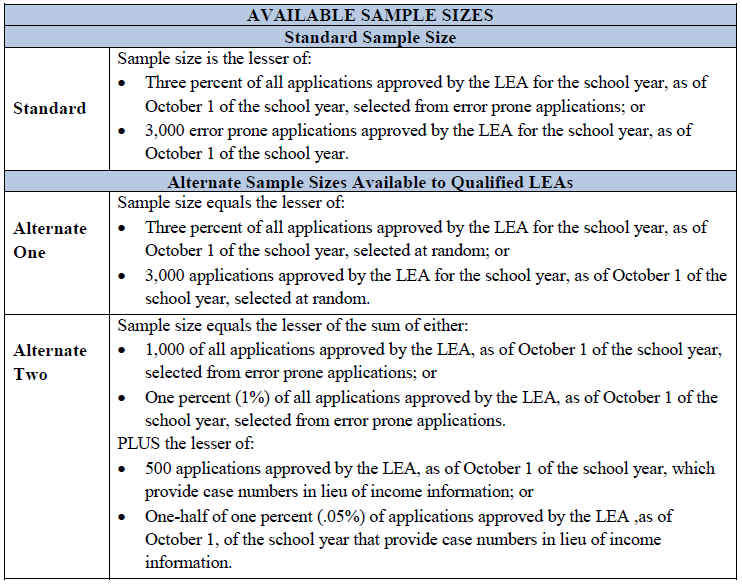
Food Service Eligibility must be verified annually from a sample of household applications for free or reduced price meal benefits. Q uses verification statistics made up from the number of approved, error-prone and categorical applications on file that are compiled within the database automatically on October 1. This is called the Sample Pool. From the Sample Pool a small percentage is randomly chosen according to USDA Guidelines (shown below) from those that are error prone to make the Verification Sample Pool.
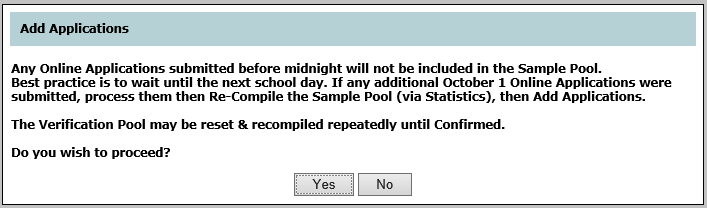
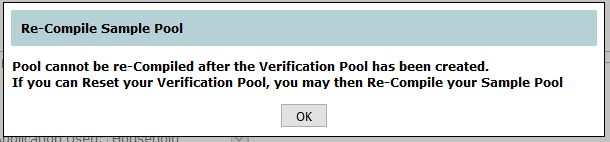
As a best practice, wait until the next school day after October 1 before creating the Verification Pool so that all applications will be included in the compilation. If you are using Online Applications and the sample is attempted on October 1, the following message will appear.
There are three basic steps to creating the Verification Sample Pool.
- Adding Applications
- Confirming or Excluding Applications
- Committing the Pool
Adding Applications
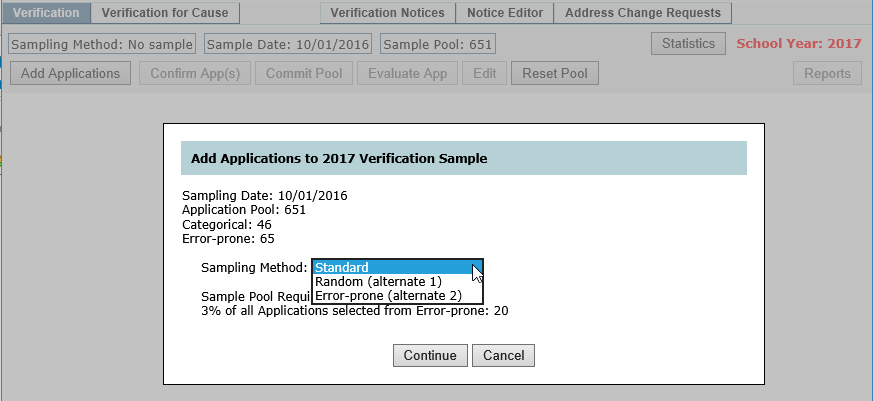
- In the Verification tab, click Add Applications.

- Select the Sampling Method from the drop down list and click Continue to add applications using the selected method or Cancel to return to the previous screen.
The Verification Sample list will populate with the Application Series, Applicant, Type, Verification Status, and Expires/Effective dates based on the sampling method selected. The Sample Pool and Verification Pool sizes are displayed at the top of the Verification screen.
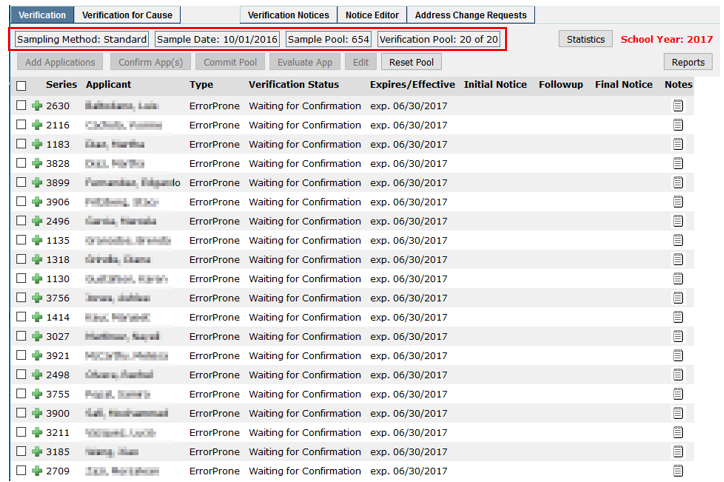
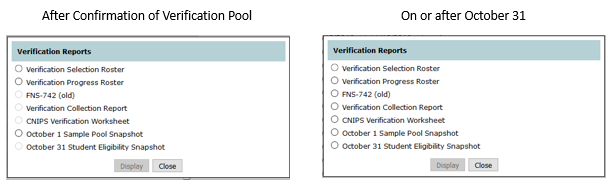
- Once a Verification Sample is created, click the Reports button to see available reports for evaluating the data.

Reports with greyed out circles will be available on or after October 31.
Confirming or Excluding Applications
Once the Verification Pool has been established, the system allows districts to perform the required Confirmation Review.
- Click the Reports button where the Verification Selection Roster can be printed for review in compliance with USDA Guidelines.

As the applications in the Verification Pool are evaluated, click the checkbox located to the left of the series number and click Exclude App(s) or Confirm App(s).
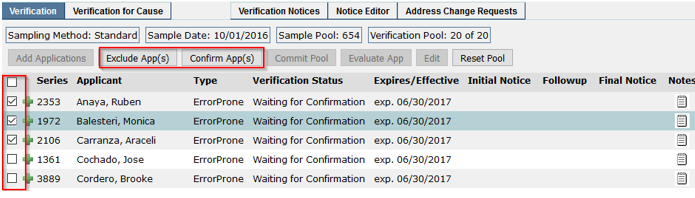
Here is an example of selecting 3 applications for exclusion.
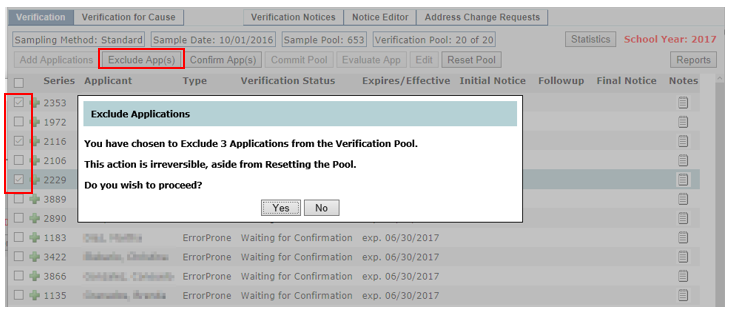
Applications which have been excluded from the Verification Pool cannot be re-added therefore more applications must be added in order to complete and Commit the Pool.
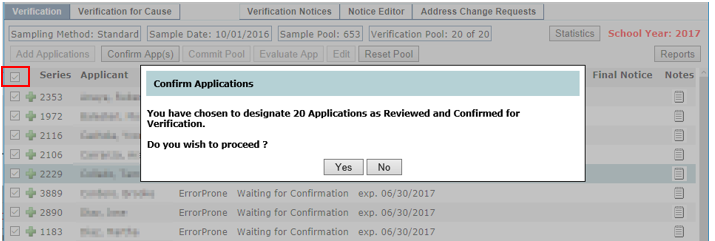
- To Confirm (approve for verification) all of the applications on the verification list click the “check all” field in the header.
- Click Confirm App(s)
- A pop up message with the number of applications chosen to confirm for verification will be displayed. Click Yes to complete confirmation, or No to be returned to the previous screen.
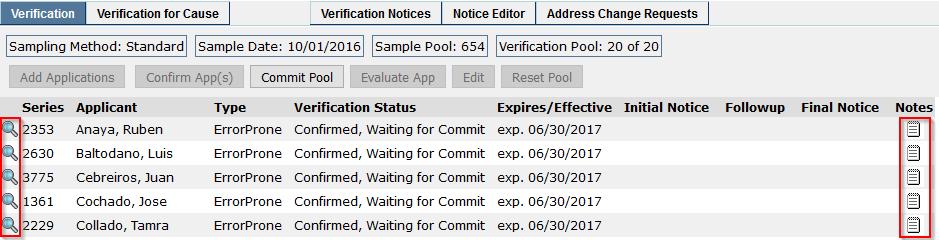
- Applications which have been confirmed will be displayed with a magnifying glass icon.
- To add notes, click the Notes icon in the series row of the application.
Verification for Cause
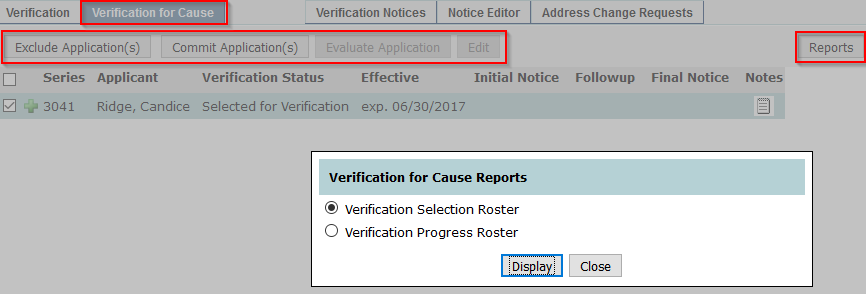
Verification for Cause may be (optionally) performed by flagging Eligibility Applications as they are entered, or during Online Application Review. Applications that have been flagged are listed under the Verification for Cause tab and the Exclude, Commit, and Evaluate Application and Edit buttons function the same as with the Verification Sample Pool.
- From the Verification for Cause tab, clicking the Reports button allows the display and printing of Verification Selection or Verification Progress Rosters for evaluating the applications.
Committing the Pool
Once the Verification Pool has been confirmed, committing it will expire applications as of the deadline date. Be sure to allow enough time for verification notices printing, mailing, transit time, as well as time for applicants to review, compile, and return their information.
- Click Commit Pool to commit the pool for Verification.
- The applications selected for Verification will be expired as of the Deadline Date
- To continue click Commit, or Cancel to return to the previous screen.
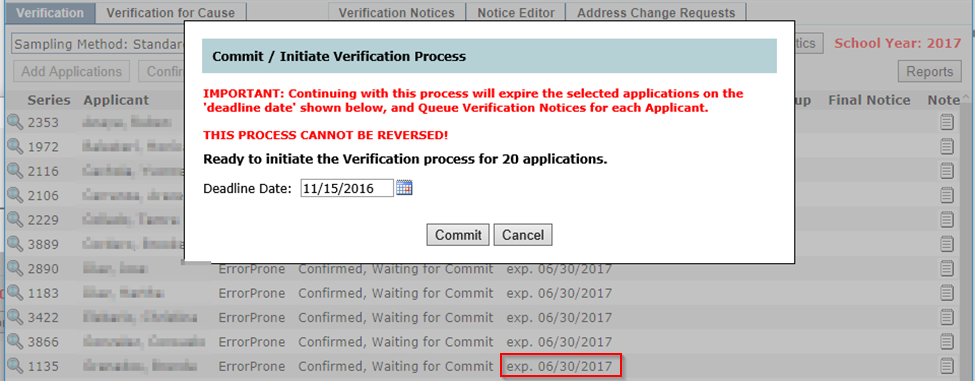
The Expires/Effective column will now contain the application expire date as ‘exp. (date)’.
In addition to setting an expiration date for the applications selected for verification, committing the sample pool sends a Verification Notice for each applicant to the mail queue.
Verification Notices
- Click the Verification Notices tab to print notices for mailing.
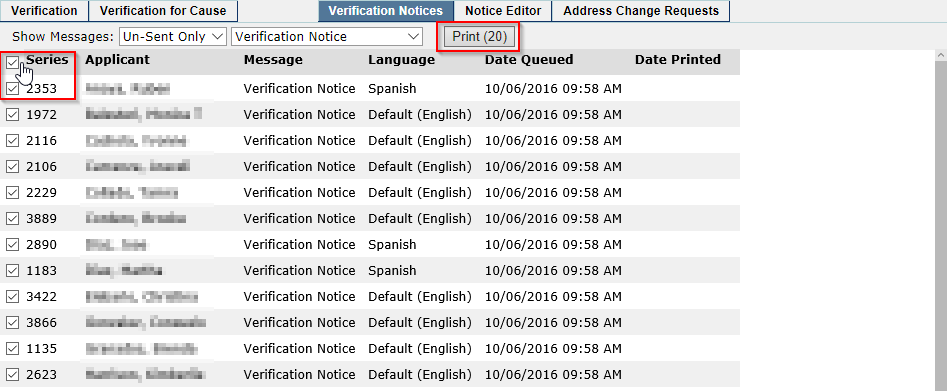
- To select the notices, check the box to the left of the Applicant’s Series number. The Print button will display the number of notices selected.
- Click Print
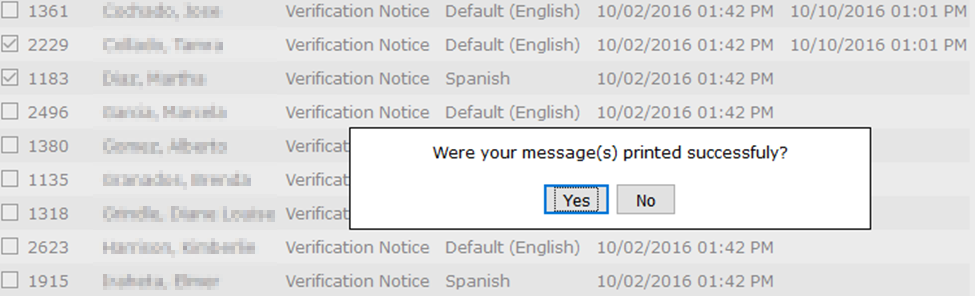
For auditing purposes, Q tracks the date and time of when notices were sent to the queue and when they were successfully printed.

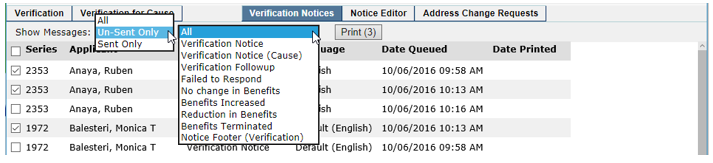
- Filter which type of message is shown by selecting to show ‘All’, ‘Un-Sent Only’, or ‘Sent Only’ and choose which Message Type to be displayed in the Verification Notices list.
- To print all notices, click the checkbox in the checkbox column header at the top of the list.
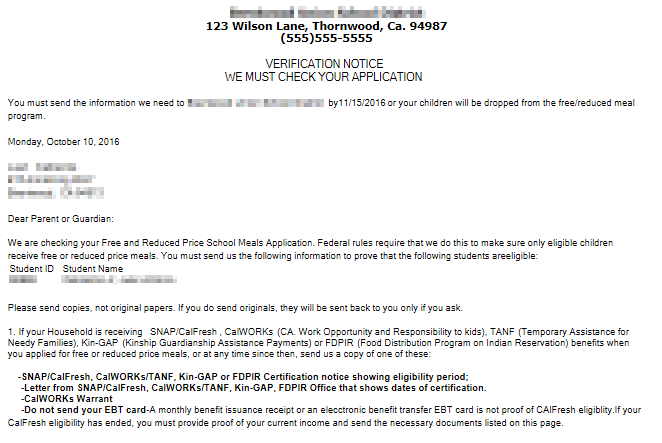
Letters can be previewed prior to printing.
If for some reason, notices didn’t successfully print or need to be changed, the user can respond No to the pop up message following viewing and make needed corrections without creating a printing record.
Followup Notices
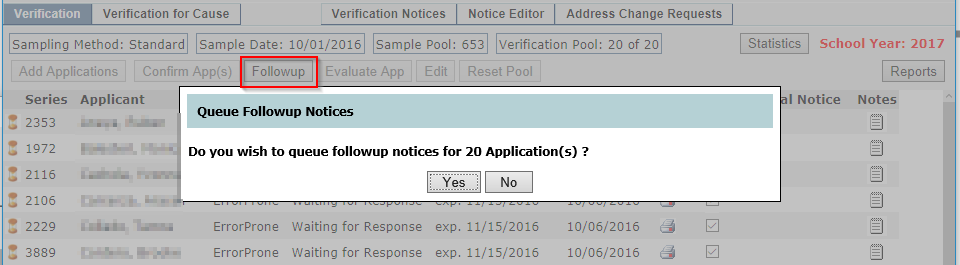
Followup Notices may be created and mailed at any time during the Verification process using the Followup button. Click Followup without selecting applicants to queue notices for all applicants.
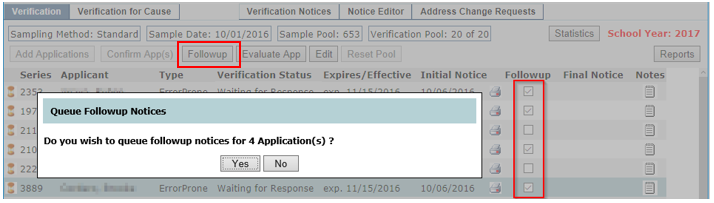
Individual notices may be queued by checking individual checkboxes in the Followup column, then clicking the Followup button.
Once an Application has been Evaluated, a followup notice is no longer required and the option is no longer available.
Evaluate
As responses are received from Applicants, updated household information (if any) is entered using the Evaluate App button.

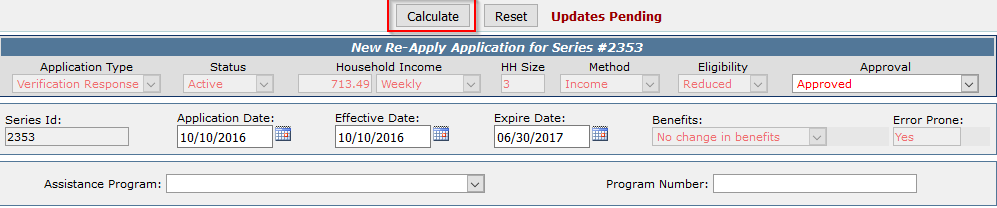
- Click Evaluate App to process a ‘Re-Apply’
- Update any information that has changed, and click Calculate.
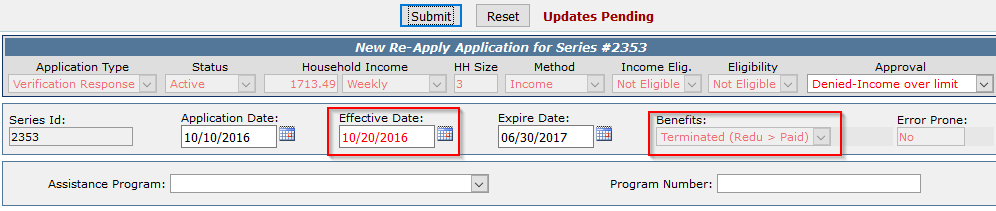
If changes in household size or income have occurred which would result in a decrease in benefits, the effective date will be set ten days out from the application date and a Reduction in Benefits notice will be generated.
- If household circumstances remain unchanged, simply click Calculate and submit the Application.

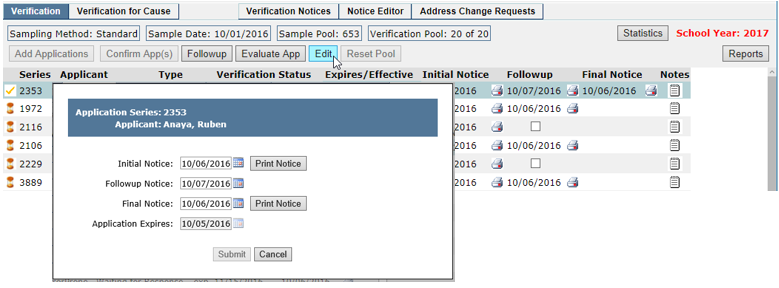
The Edit button can be used to edit Verification tracking dates, to queue or print individual notices, and to extend the Application’s expiration date.
Final Notice
When the verification deadline approaches (when today’s date is within 10 days of the expiration dates), the Final Notice button will appear.

If the Verification Notices (or Followup Notices) included at least 10 days notification that households would lose their benefits if they did not respond before the expiration date, then Final Notices can be sent the day after expiration (if at all). If, however, applicants have not received notice of loss of benefits, Final Notices stating loss of benefits should be printed and mailed 10 days prior to expiration.
Expired Applications
Clicking on the Verification / Verification for Cause tabs on the expiration date will produce a notice with instructions for handling the expired applications.
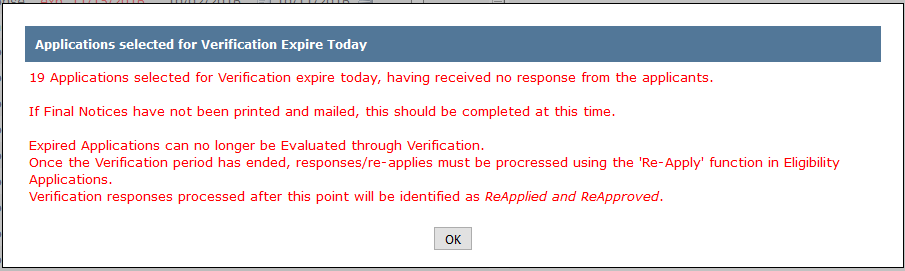
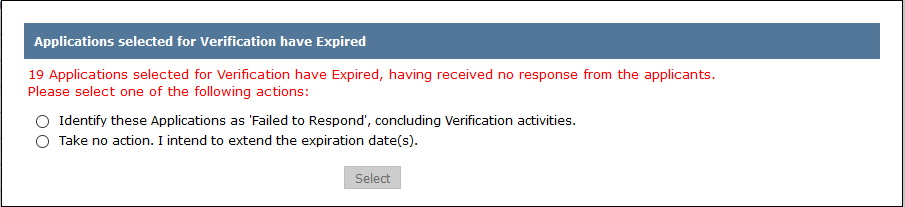
After the expiration date the user may choose to designate the un-evaluated applications as ‘Failed to Respond’, rendering them locked against further evaluation or manipulation or to take no action and handle the applications manually.
- Choose an option and click Select.
This message will continue to pop up when the Verification tab is launched until all the applications have been completed.
The Notice Editor allows users to define Verification Notices. Notices are configured in a Mail Merge format.
- Click Notice Editor.
There are eight individual notices used within the Verification process. In addition to the Verification Notices and Followup Notice, one of five possible Final Notices are generated depending on verification disposition.
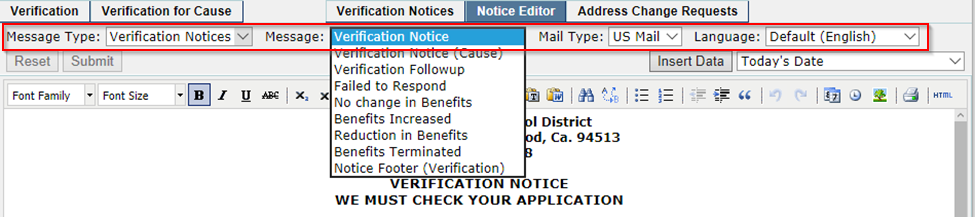
- Choose the Message Type, Message, Mail Type, and Language of the notice to be created or edited.
- Insert Data
Inserts mail merge fields into Verification Notices. Users can create one Verification Notice per district which can then be populated based on information contained in Eligibility Applications.
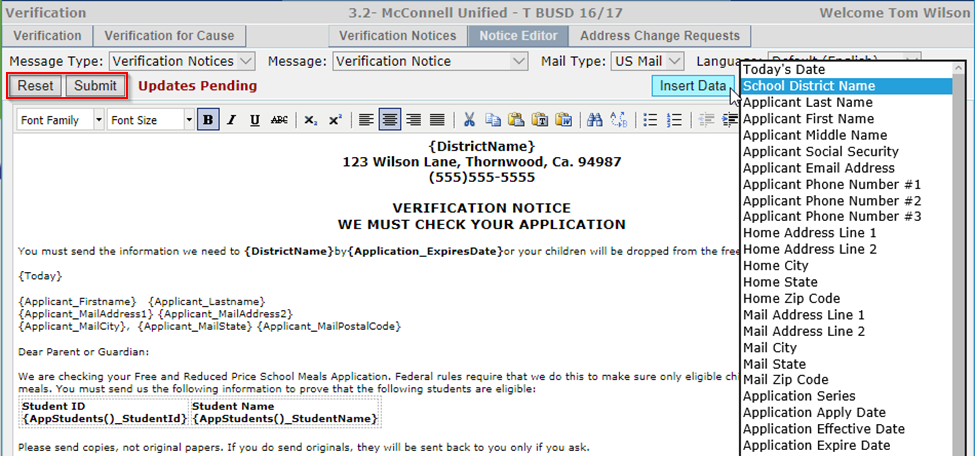
- To save changes, click Submit, or Reset to undo any changes and return to the previous screen.
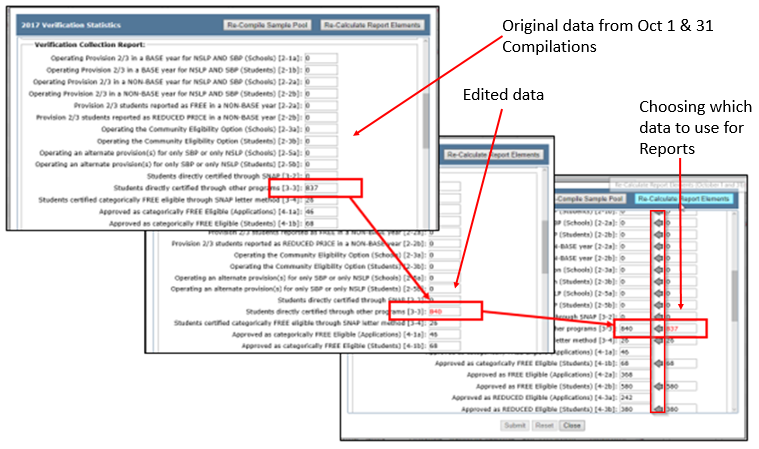
Clicking the Statistics button allows the user to Re-Compile the Sample Pool and Re-Calculate Report Elements using the data captured on October 1 and October 31. 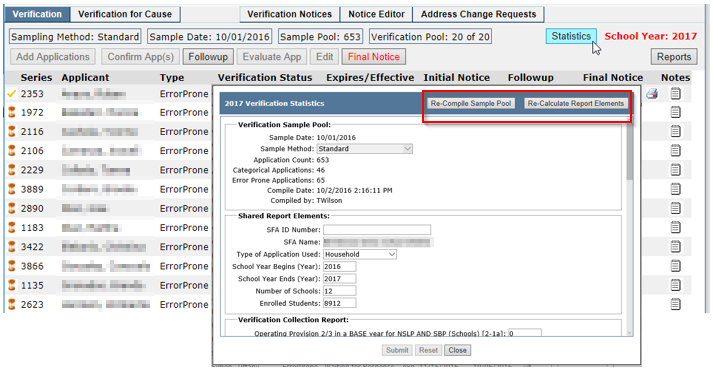
Re-Compile Sample Pool
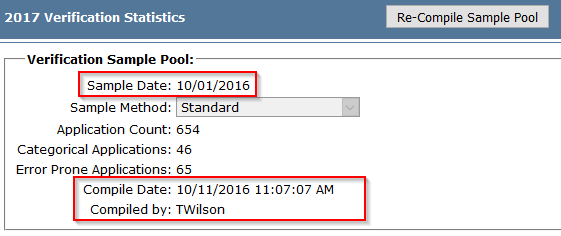
Until a Verification Pool is selected this feature re-calculates the data gathered on October 1. If a Verification Pool exists, the user must reset it before clicking Re-Compile Sample Pool.
Q shows the date the original sample was created and the last date the data was re-compiled and the user.
Once a Verification Pool is confirmed and the pool cannot be reset, the Re-Compile Sample Pool button has no more functionality.
Re-Calculate Report Elements
This feature allows for the Re-Calculation and editing of data shared between the various Verification Reports, and specifically for the Verification Collection, the FNS-742 (old), and the CNIPS Worksheet Direct Certification Summary Reports.
Edits can be made to the report data and will show as Red when entered and, when submitted, will show on reports. When Re-Calculate Report Elements is run, data that has been edited will show along with the original data captured on October 1 and October 31. The user can choose which data to use in the reports and can replace edited data with the original data by clicking the arrow.
The Verification Application is one of several places in Q where changes to Food Service Applicant contact information can be reviewed and accepted/discarded.
- Click the Address Change Request tab to view 1 – the list of applicants who have requested changes, the source and date of the request, 2 – a dropdown filter for sources, 3 – a dropdown filter for type of applicant, and 4 – a review of the request of the selected applicant.
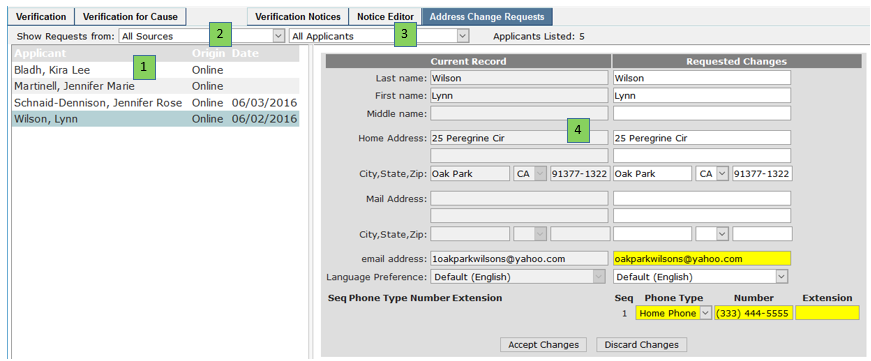

Requested changes are highlighted in yellow.
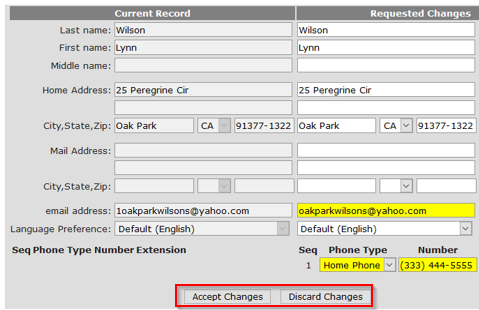
- Click Accept or Discard Changes.
If Delete Changes is selected, a confirmation popup appears.

Once a choice is made the applicant name is removed from the list.
