Students participating in Career Technical Education (CTE) Pathways may be enrolled in one or more pathways using the Student Pathways application.
The Student Career Plans application may also be used to set a student’s pathway and courses.
Student Pathways is located under the Schedule menu in Q.
The Student Pathways Report is available under Schedule Reports and may be used to produce reports of students with their pathway data.
Student Pathways opens to the Student Pathways tab. From this tab, the application is a student banner application where the banner shows students already enrolled in a pathway and applies additional filters such as logged in school, ‘Include’ filter (Active, Inactive, Both) etc. For more information, see the Student Banners documentation.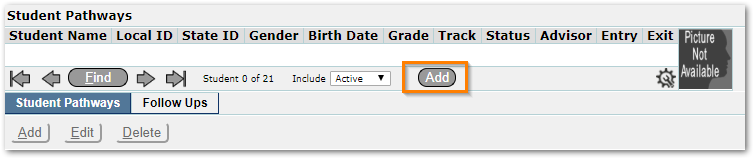
In the example shown, 21 students are currently enrolled in a pathway in a school with a much larger enrollment.
To find a student already assigned to a pathway, use the standard ‘Find’ dialog filter fields, or scroll using the arrow keys in the banner.
To add a student for the first time to a pathway:
- Click the banner Add button.
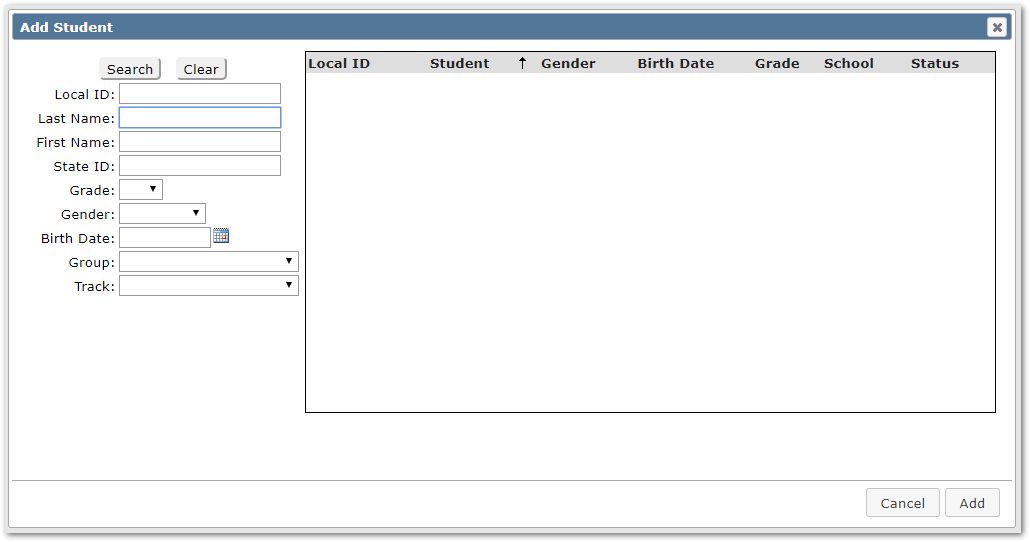
- Search for the student by entering search criteria and select the desired student.
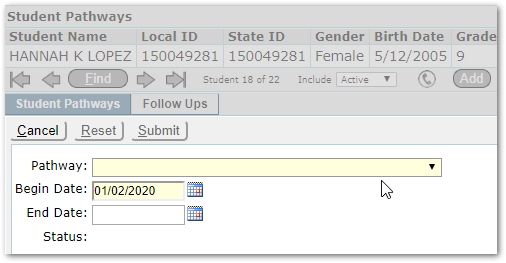
- Select the Pathway.
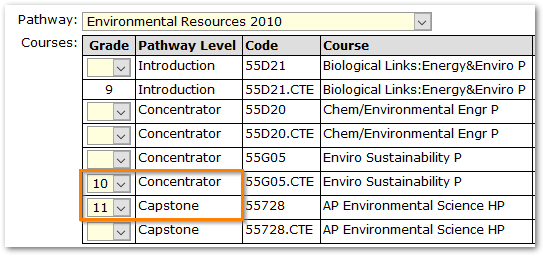
Once the Pathway is selected, Pathway courses will appear:
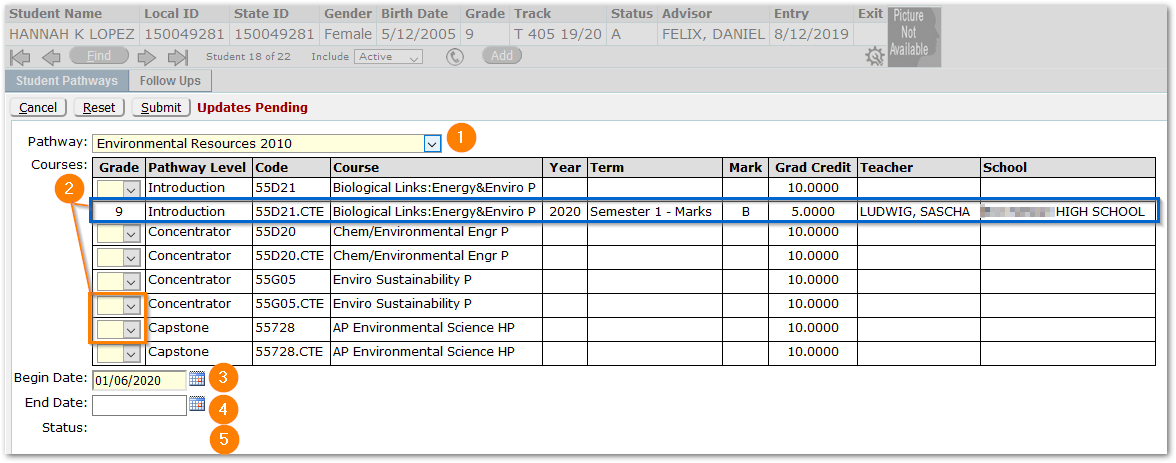
Any courses for which the student already has transcript records, such as the Grade 9 - Biological Links shown above, will appear with the details from their academic history. In our example, the student has completed Semester 1 of the Introductory course in the Pathway. The term, semester mark, graduation credit, teacher and school are shown. Note the Grade in the first column is set, based on the transcript record.
- Select and set the Grade the student will take their courses.
Each student will need one course selected for each Pathway Level.
In our example, there are more than one possible Concentrator and Capstone course. Only one of each needs to be selected and set with a grade.
- Accept the Begin Date, or if desired, set to the date the student entered the program.
- End date is optional and may be left unset, particularly if the student is currently in the pathway.
- Status will be calculated as part of Marks Processing or when the student’s academic history is updated.
- Click Submit to save the student’s pathway record.
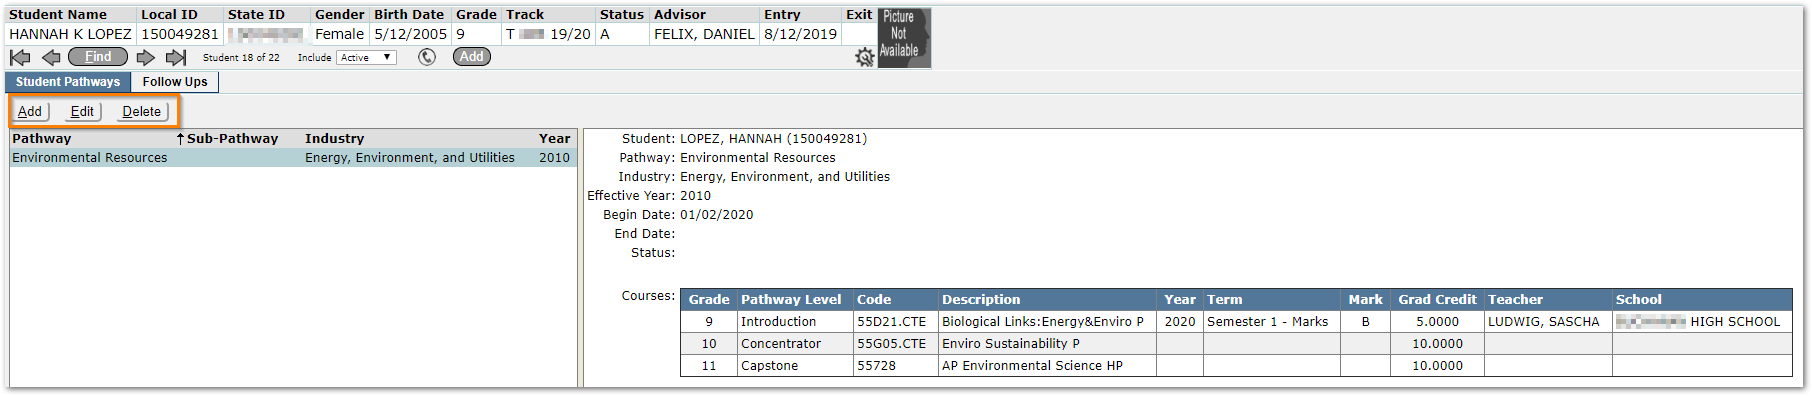
Once the record has been saved, it will appear in the student’s pathway list on the left, with details on the right, including selected classes. The student will now appear in the Student Pathways banner.
A student may have more than one pathway. If needed, use the Add button, and add another pathway for the student following the same steps.
To Edit a Student’s Pathway:
- Find the Student.
- Select the Pathway.
- Click the Edit button.
- Make adjustments.
- Submit the changes to save the record.
To Delete a Student Pathway:
- Find the Student.
- Select the Pathway.
- Click the Delete button.
To record follow-up survey or contact information for students after they have graduated, use the Student Pathways Follow-Ups Tab.

Filter the students as needed using Graduation Year, Pathway, Pathway Status, clicking Refresh to get the list of students.
- Select the student.
- Click Edit.
- Add a Follow-Up.
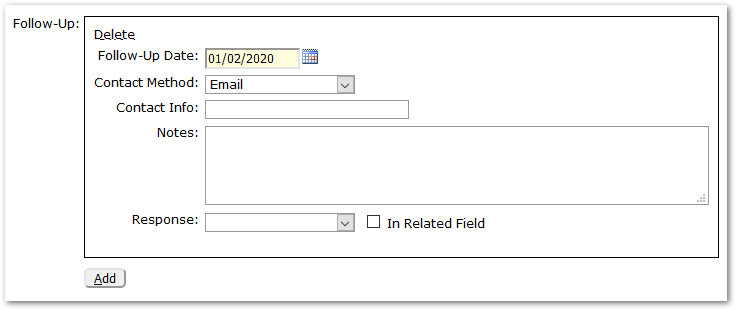
- Enter Follow-up Date, Contact Method, Contact Info, Notes, Response, and use the checkbox to indicate if the student is ‘In a Related Field’.
- Submit the changes.
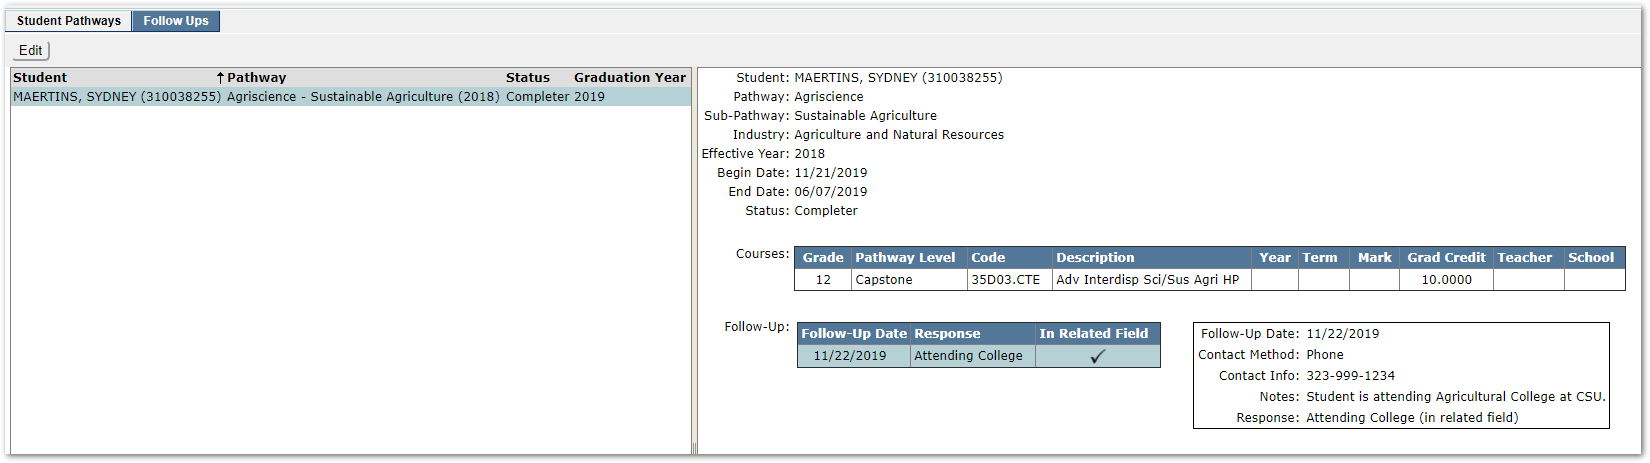
The student’s record will be displayed with details at right. Additional Follow-Ups may be added by selecting the student, clicking Edit and using the Add button.
Student Career Plans may be used as an alternative to assign a student to a pathway. See Student Career Plans for more information.
